The main purpose of this method statement is to outline the preparation and skim coating work with all the required specifications, standards, and application construction procedures.
The procedure will ensure the desired finish as per the project specifications, i.e. steel trowel smooth to egg shell finish, without any powderiness, no trowel marks & physical undulating surface to the touch.
All workers to continually use PPE (Personal Protective Equipment).
Establish a clear access, egress way to allow for the safe movement of materials and equipment around the site. Material delivery and storage areas should have enough space and lighting to allow for the safe movement of materials.
Always use the suitable tools /equipment for the job.
Check cable and connections of power tools for any wear/tear of insulation and loose connection.
Necessary Tools/Equipment
Below is details of necessary materials and tools:
- Base Coat Grey Color
- Finish Coat Grey/White Color
- Water, Fiber Mesh, Corner Beading
Wheelbarrows - Spirit Levels
- Measuring Tape
- Steel/Plastic Trowels
- Electric Power Mixer
- Angle Rule
- Aluminum Rule
Preparation Of Surfaces / Walls for Skim Coat
Obtain relevant approvals for the construction drawings & materials from Architect/Client .
Make sure that all required M&E concealed services and openings such as electrical conduits, window and door frames have been installed.
Protection of window and door frames to be done and relevant contractors shall be available during the skim coating works.
All opening, holes, cracks must be properly filled by responsible contractor before commencement of skim coat work.
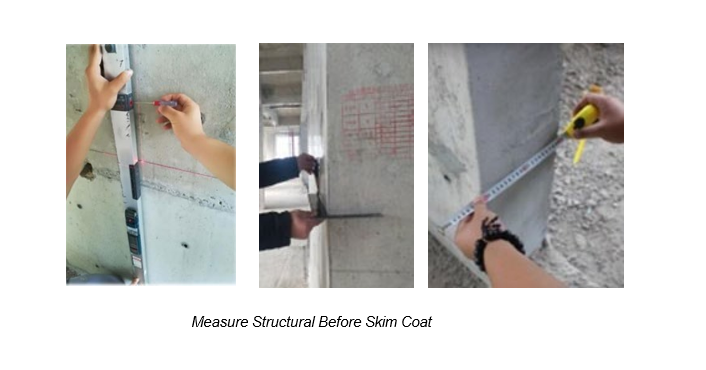
The surface of RC wall will be checked using 1″x 2″ aluminium bar and angle rule to determine if any additional patching or hacking is required for achieving the squareness and verticality.
Surface of slab soffit and R.C wall including inner angles must be sufficiently flat, taking into consideration the permissible minimum and maximum thickness of the skim coat.
Any slab, soffit or wall which exceeds the permissible limit shall be hacked and make good.
Slab soffit must be free from timber/formwork, dust oil, paint, grease and other foreign materials which may affect the site construction and finishing.
Make good completed R.C structure in order to receive skim coat.
Clean the area for safe working space and suitable accessibility.
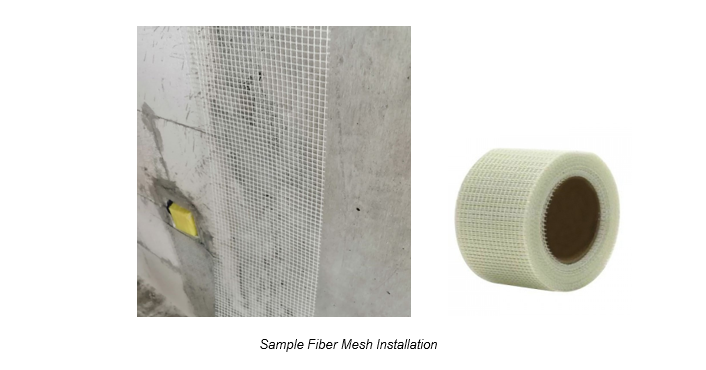
Fiber mesh will be installed before applying skim coat for joint area between ceiling and wall or RC wall and brick wall to avoid cracks.
Sequence of Work for Skim Coating Works
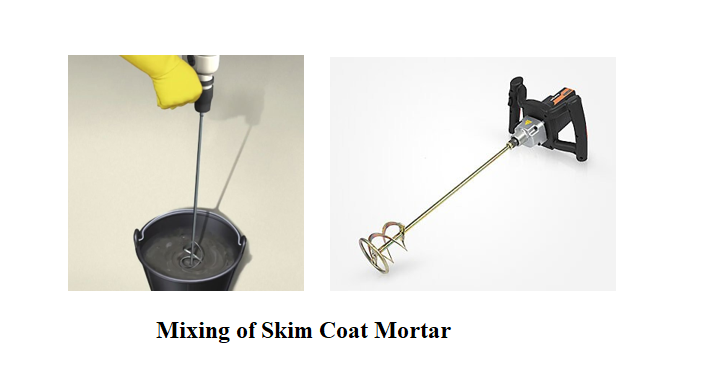
Mixing: Mixing of ready mix skim coat shall be strictly in accordance with the procedures set down by the manufacturer. Ensure each mix is of similar uniform consistency as previous mixes. Mixing will be by hand or using power mixer.
Application of Skim Coat
Skim Coating Works For Column/Wall Podium & Internal Wall Tower
Provide necessary warning barriers surrounding the work place for safety and security purposes. Prepare material, water & electric supply and plan for works.
Double check the structural/wall surface evenness & flatness, thickness. If surface still have defect should rectify first.
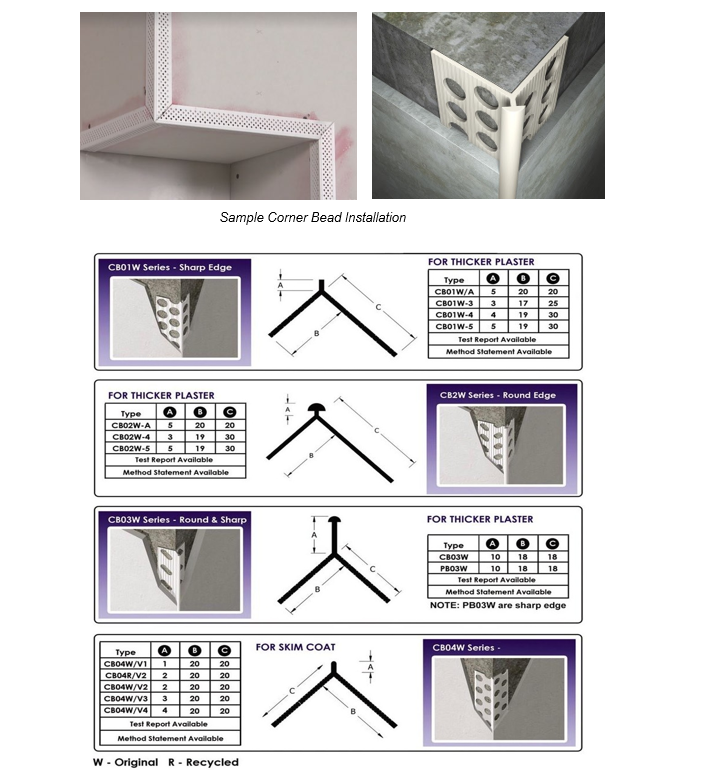
Install corner bead at corner/angle. Make sure squareness, horizontal & verticality.
Install fiber mesh between RC structural & brick wall, around gap door/window & cuts of M&E conduit line.
For base skim coat, add material to the recommended amount of clean water by weight or by volume.
See the table for recommended mixing ratio.
Manual mixing or use an electrical mixer to stir for about 2 minutes to obtain a homogeneous paste of suitable consistency.
The wet lump free mix is then ready for use immediately.
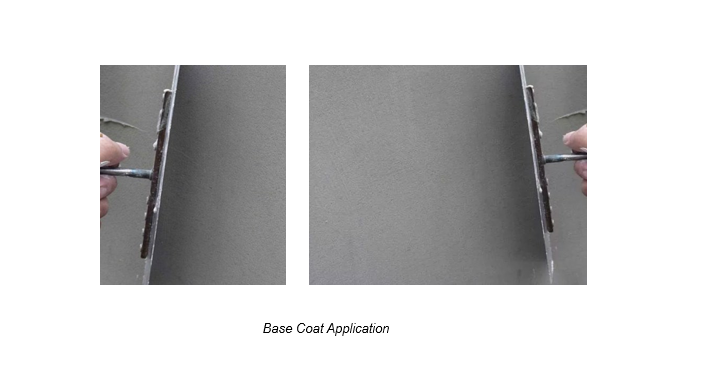
Apply the properly mixed material following normal plastering trade and craftsman practices.
Recommended overall thickness (thin layer) is 2mm – 3mm all in accordance with stated project specifications.
A smooth finish can be achieved via the use of a smooth metal trowel.
Spread the wet material evenly and adjust thickness with smooth strokes of trowel over the surface.
For finish skim coat, add materials to the recommended amount of clean water by weight or by volume. See table for recommended mixing ratio. Manual mixing or Use an electrical mixer to stir for about 2 minutes to obtain a homogeneous paste of suitable consistency. The wet lump free mix is then ready for use immediately.
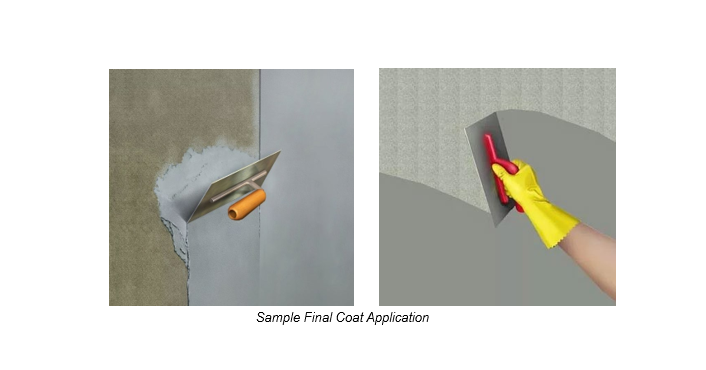
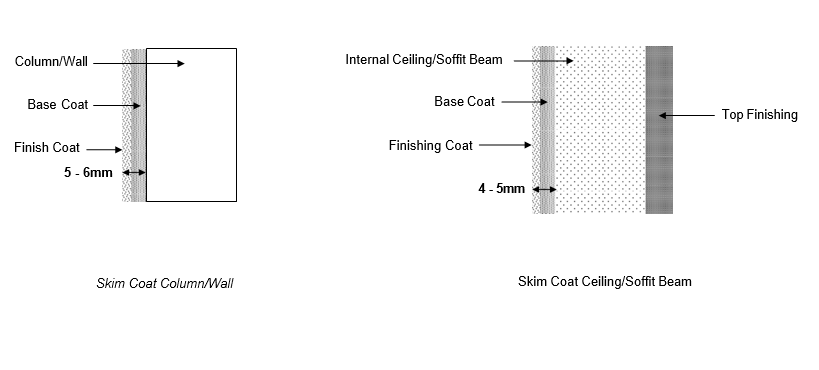
Finish coat is applied onto the base coat using a hand trowel up to a maximum overall thickness total of 5mm – 6mm. When the applied material has stiffened sufficiently re-trowel with clean dry trowel for a final smooth finish.
Skim Coating Works for Internal Ceiling, Concrete Soffit and Beam
For under skim coat, add materials to the recommended amount of clean water by weight or by volume. See table for recommended mixing ratio. Manual mixing is done or use an electrical mixer to stir for about 2 minutes to obtain a homogeneous paste of suitable consistency. The wet lump free mix is then ready for use immediately.
For base coat, apply the properly mixed materials following normal plastering trade and craftsman practices.
Recommended max overall thickness (thin layer) 1mm – 2mm all in accordance with stated specification.
A smooth finish can be achieved via the use of a smooth metal trowel. Spread the wet material evenly and adjust thickness with smooth strokes of trowel over the surface.
For finish skim coat, add approved materials to the recommended amount of clean water by weight or by volume. See table for recommended mixing ratio. Use an electrical mixer to stir for about 2 minutes to obtain a homogeneous paste of suitable consistency. The wet lump free mix is then ready for use immediately.
Finish coat is applied onto the under coat using a hand trowel up to a maximum overall thickness total of 4mm – 5mm. When the applied material has stiffened sufficiently re-trowel with clean dry trowel for a final smooth finish.
Skim Coating Works For External Wall
Apply ready mixed external skim render of overall 9-10 mm thick all in accordance with manufacturer’s specification to sides of shear wall, low wall, non load bearing wall.
External render also apply 2 layer or 1 layer according to the instructions from manufacturer.
Use polyform to make rough sponge for external surface to anti crack & prevent water.
Discover more from Method Statement Store
Subscribe to get the latest posts sent to your email.