This mechanical method statement section applies to the hydrostatic testing of new fabricated and installed stainless steel SS pipelines associated with a construction or pipeline project.
After completion and approval of all welding, radiography and NDT requirements/ activities the piping system shall be hydrostatically pressure tested.
The site supervisor shall obtain relevant safety permits to carry out hydrotest for the approved portion of the pipeline.
Hydro pressure test constitutes the final examination of completed pipe work for its soundness and quality.
Health & Safety Precautions
Activity Risk Assessment shall be carried out to ensure that the risk are brought to ALARP (As Low As Reasonably Practical) Level.
Tool box talk shall be conducted and documented.
The area where pipe hydrotest is conducting shall be cordoned off, minimum 10 meter radius around equipment / system being tested.
Warning signs must be placed at access routes and in working area as well.
The piping are spaded using rated spades/blind flanges as close as possible to the portion of piping to be tested.
Pipe Pressure Testing Method
Blank-off the ends of the test section with blind flange equipped with:
– An outlet and stopcock at the top of the higher end to vent the air.
– An inlet and stopcock at the lower end situated in the middle or at the bottom for the pump and filling connection.
Valves included in a pressure test shall be open 90%. Valves shall not be included in a pressure test fully open or fully close.
To arrest the possibility of sideward displacement at the end of the test section due to pressure lateral anchorages may be provided as applicable.
In order to facilitate the air removal, water shall be introduced at the lowest point in the loop where the test pump shall be positioned.
Vent the loop properly to ensure it is free from any entrapped air.
De-mineralized water (DMW) shall be used for the hydro testing of the pipe lines.
Chloride levels in the water shall be within the acceptable limit.
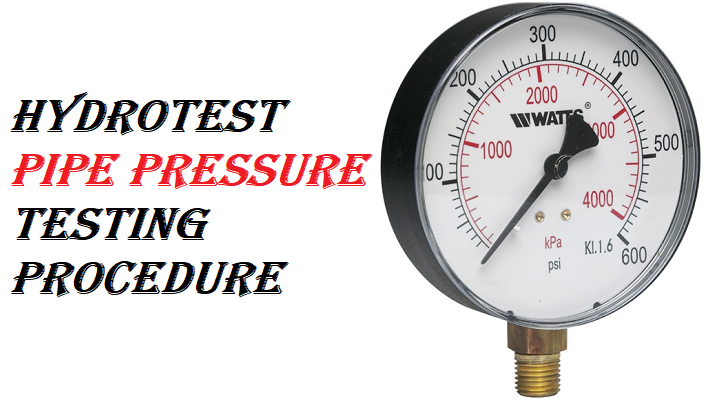
Ensure the use of calibrated instruments only.
The pressure gauges shall be tagged with the date last calibrated.
Gauges with outdated Calibration tags shall be recalibrated before use.
Calibration intervals for the gauges will be 6months in line with the client or company requirements.
Pressure gauges shall be located at the ends of the test section.
Two gauges shall be installed as follows:
– One at the pump location
– One gauge shall be located at the highest point in the loop.
The test pressure gauge shall include a chart pressure recorder to monitor the pressure continuously.
Wait until all the air has been purged before raising the pressure in the pipe line.
The pipe line shall be tested at required pressure as per line list or as per specifications.
Pressure to be raised in steps of 5 bar maximum and hold for 10 minutes before proceeding to the next step.
The test pressure shall be as per project requirement and the test shall be for 30 minutes minimum.
Pressure must be raised slowly to allow inspection of the weld joints.
The pressure must not only reveal any possible defects in the weld joints but must provide a definite check on the main line for any cases of damage incurred during transport or laying.
Keep the line under the test pressure for 30minutes and observe the pressure gauge for any drop in the pressure.
Survey the line visually for any deformation or leakage etc.
Any drop in pressure during the hydrotest not directly related to temperature fluctuations (as approved by inspection engineer) shall require a full re test.
Upon successful completion of the hydrotest, start dropping the pressure gradually and drain the water in the storm drain by using proper hoses.
Obtain clearance from inspection and proceed with the painting of the welding joints as per project specifications.
If any partial replacement is done in existing line, the entire loop shall be hydro tested (Flange to flange).
Discover more from Method Statement Store
Subscribe to get the latest posts sent to your email.